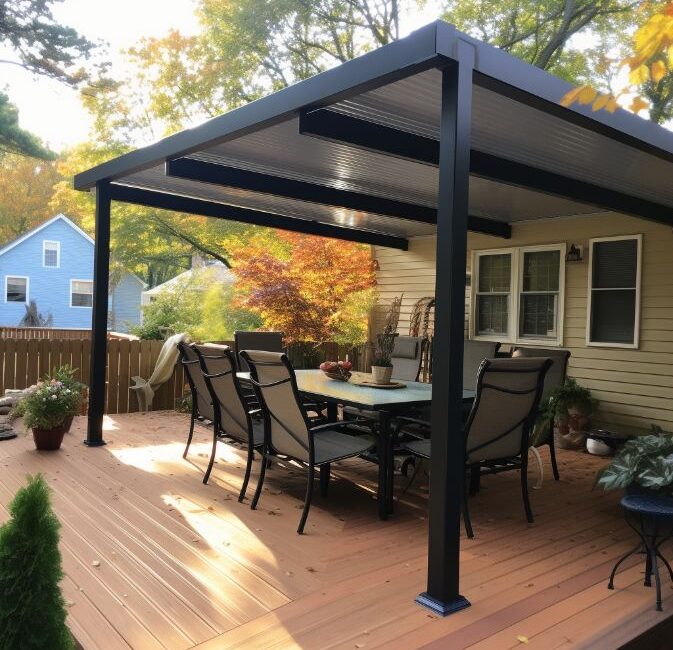
How To Build A Small Garden Pergola?
Creating a small garden pergola can be an enjoyable and rewarding project that adds a beautiful and unique touch to your backyard. At Egy Gazebo, we specialize in building and installing outdoor structures in Egypt, and a small garden pergola is the perfect addition to your outdoor living space. In this article, we’ll discuss how to build a small garden pergola with step-by-step instructions and provide helpful tips to make the process easier.
Introduction to Building a Small Garden Pergola
A small garden pergola is an attractive and stylish structure that provides shade and shelter from the sun. It is an ideal way to extend your living space and create an inviting outdoor area for entertaining guests or simply relaxing. Building a pergola requires some knowledge of carpentry, but with the right materials and tools, it can be a relatively simple project.
Materials Needed to Build a Small Garden Pergola
Before you can begin building your pergola, you will need to gather all of the necessary materials. For this project, you will need:
- 4×4 pressure-treated posts
- 2×6 pressure-treated boards
- 1×4 pressure-treated boards
- 2×2 boards
- Nails and screws
- Joist hangers
- Post anchors
- Decking boards
- Metal brackets
- Stains and sealants
Tools Required to Build a Small Garden Pergola
In addition to the materials, you will also need some basic tools to build a pergola. You will need:
- Hammer
- Drill
- Circular saw
- Jigsaw
- Level
- Measuring tape
- Safety glasses
Step-By-Step Guide to Building a Small Garden Pergola
Now that you have all of the materials and tools you need, you’re ready to begin building your small garden pergola. Follow these steps to get started:
1. Measure and Mark the Area
The first step is to measure and mark the area where you want to build your pergola. Use a measuring tape and marking paint to clearly mark the area where the posts will go.
2. Dig and Set the Posts
Once you have marked the area, you can begin digging the post holes. Use a post hole digger to dig the holes, and then place the posts in the holes. Make sure the posts are level and secure them with post anchors.
3. Install Joist Hangers
Once the posts are in place, you can begin installing the joist hangers. These will be used to attach the cross beams to the posts. Secure the joist hangers to the posts with nails or screws.
4. Cut and Attach the Cross Beams
Next, you will need to cut the 2×6 boards to the desired length and then attach them to the joist hangers with nails or screws. Make sure the cross beams are level and secure them firmly.
5. Cut and Attach the Rafters
Once the cross beams are in place, you can begin cutting and attaching the rafters. Cut the 2×2 boards to the desired length and then attach them to the cross beams with nails or screws.
6. Cut and Attach the Decking
Once the rafters are installed, you can begin cutting and attaching the decking boards. Cut the 1×4 boards to the desired length and then attach them to the rafters.

