
How to Cut Pergola Rafter Ends the Right Way
Are you looking for a way to enhance the functionality of your outdoor space with the addition of an outdoor structure? Egy Gazebo is here to provide you with the perfect solution. Egy Gazebo is an experienced company based in Egypt that specializes in building and installing outdoor structures such as pergolas, gazebos, and decks.
While you can rely on Egy Gazebo to build and install the structure for you, you may also want to try your hand at completing the installation yourself. One key component of any outdoor structure is cutting the pergola rafter ends correctly. In this article, we’ll outline the steps you need to take to ensure your pergola rafter ends are cut correctly and efficiently every time.
Understanding the Basics of Pergola Construction
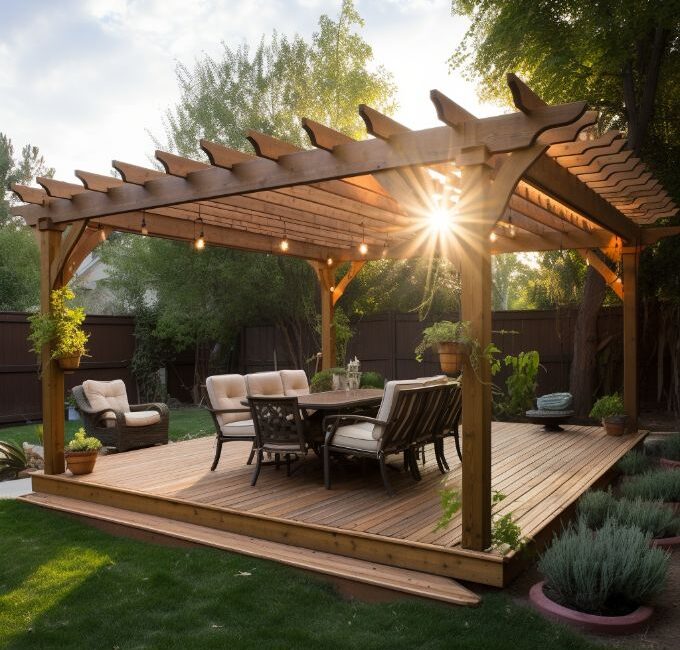
Before you jump into cutting the rafter ends, it’s important to understand the basics of pergola construction. A pergola is a freestanding structure with a slatted roof supported by columns or posts. The posts are then connected by beams and rafters, which form the roof.
The rafters are where the slats for the roof will be attached. To ensure your pergola looks and functions the way you want it to, it’s important to cut the ends of the rafters correctly.
Tools You Need to Cut Pergola Rafter Ends
Before you start cutting the rafter ends, you’ll need to make sure you have the right tools. The most important tool for cutting the rafter ends is a miter saw. A miter saw is a specialized tool that allows you to make precise, angled cuts.
In addition to a miter saw, you’ll need a few other tools to complete the project. These include a tape measure, a pencil, a speed square, a ladder, and safety glasses.
Step-by-Step Guide to Cutting Pergola Rafter Ends
Now that you have all the tools you need, it’s time to start cutting the rafter ends. Here’s a step-by-step guide to help you get the job done quickly and easily.
Step 1: Measure and Mark the Rafters
The first step is to measure and mark the rafters. Using a tape measure and a pencil, measure the length of the rafter and mark the spot where you’ll make the cut.
Step 2: Set the Miter Saw
Next, set up the miter saw. Set the saw to the angle you need, usually a 45-degree angle, and lock it into place.
Step 3: Place the Rafter in the Saw
Once the miter saw is set up, place the rafter in the saw. Make sure the mark you made is lined up with the blade of the saw.
Step 4: Make the Cut
Now it’s time to make the cut. Make sure you’re wearing safety glasses and hold the rafter firmly in place. Then, turn on the saw and slowly make the cut.
Step 5: Clean Up the Edge
Once you’ve finished making the cut, you’ll need to clean up the edge. Use a speed square to make sure the cut is clean and straight.
Step 6: Repeat the Process
Repeat the process for each rafter. Make sure you’re taking your time and double-checking each cut to ensure accuracy.